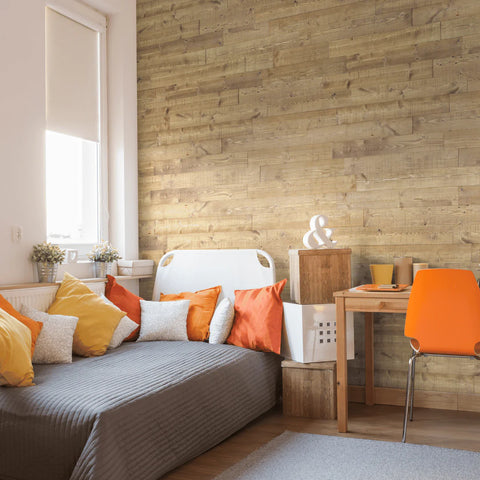
Peel and stick wall panels are an excellent way to add a touch of style and sophistication to your home with minimal effort. These panels are perfect for a quick and easy transformation, but proper preparation is key to ensuring a flawless finish.
Here’s a quick guide to help you prepare your space for the installation of peel and stick wall panels.
1. Plan Your Layout -
Before you start sticking panels to the wall, take the time to plan the layout and design. Here’s how to do it:
Design and Layout: Sketch your desired pattern or layout on paper. Consider the size and shape of the panels and how they will fit together. This is especially important if you're creating a specific design or pattern.
Calculate Materials: Measure the dimensions of the wall to determine how many panels you will need. It's a good idea to purchase a few extra panels to account for mistakes or miscalculations.
2. Prepare the Wall Surface
Ensuring the wall is properly prepared is crucial for the adhesive to work effectively:
Clean the Surface: Wipe the wall with a dry cloth to remove any dust or debris. Avoid using cleaning products as they can leave residues that may affect the adhesive.
Smooth the Surface: Check for any uneven areas and adjust them. Use spackling paste to fill in holes or cracks, and sand down any rough patches.
Dry the Wall: If the wall has been freshly painted, wait at least 72 hours for the paint to dry completely. This ensures the adhesive will stick properly.
3: Remove Obstacles
To make the installation process smoother, remove any obstacles on the wall:
Electrical Outlets and Switch Plates: Remove all outlet and switch plates. This will allow you to place the panels flush against the wall without interruptions.


